Gauge Settings
The Gauge Settings control the size, position, rendering and export options of the active gauge.
The Preset Size section lets you set the physical reference size of your gauge from the very start of your design.
The Preset Size selector offers Free, Custom, and the most common industry-standard gauge diameters (EN 837 / ASME standard sizes).
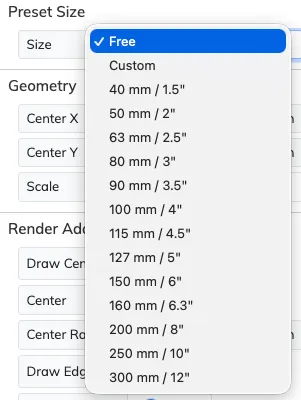
Choosing Custom reveals a Diameter field where you can enter any physical diameter.
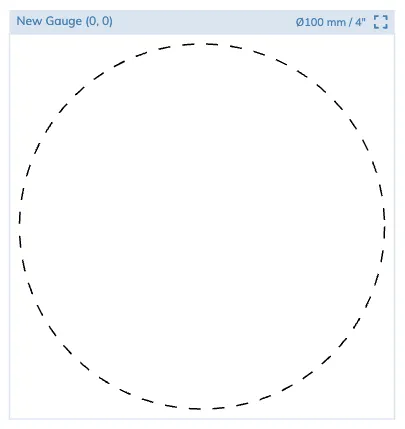
When a size preset is set, the app draws a dashed reference ring at true physical size on the canvas, and shows the diameter in the gauge frame header.
Geometry
Section titled “Geometry”The Geometry section has three groups of settings:
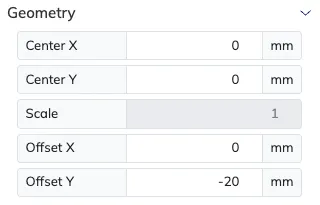
- Center X and Center Y set the gauge’s position on the canvas, editable numerically in the current measurement unit. You can also move a gauge by dragging its frame header on the canvas.
- Scale scales the whole gauge, from 0.1 to 10. It is disabled while a size preset is active, as otherwise with any scale other than 1.0 the preset size would not be honored.
- Offset X and Offset Y shift the gauge’s dial away from its physical center, for off-center gauges. They only appear while a size preset is active.
Off-Center Gauges
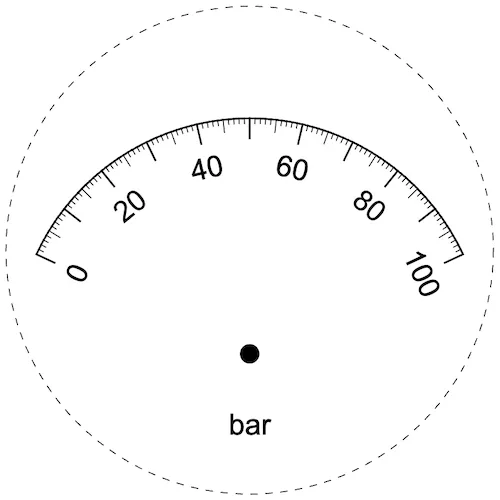
Section titled “Off-Center Gauges”The Offset X and Offset Y fields shift the gauge’s dial away from its physical center, to achieve effects like the classic car-instrument-cluster look, where the arc scale sits in the middle of the gauge while the needle axis it off-center, at the bootom of it.
All of the gauge’s layers move together with the dial, along with the Draw Center and Draw Edge markers. The layers themselves need no changes and keep their own radii and angles. Both fields are edited in the current measurement unit, like every other position field.
Editing works exactly as on a centered gauge: selection, action-control drags, snapping, context menus, the Gauge Wizards and undo/redo all follow the offset dial, and the offset is saved with the file.
Off-center gauges print and export framed to their preset size, see Off-center gauges output.
Render Additions
Section titled “Render Additions”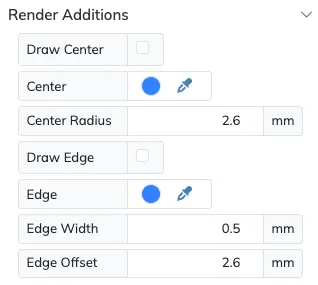
The Render Additions allow you to add some useful markings to the gauge, to help during their designs or final print/export.
The Draw Center option will draw a small circle at the center of your gauge. You can choose the color of this circle and its radius.
The Draw Edge option will draw a circumference around the entire gauge, its diameter matching the widest diameter of the gauge layers.
You can choose the color and width of the circumference’s line, as well as the spacing from the edge of the gauge. All these measures follow the current measurement unit.
Print Layout (PDF Export)
Section titled “Print Layout (PDF Export)”By default gauges print and export at their true real-world size, 1:1, so there is no output diameter to choose: what you design is what you get. See the Print and Export Gauges page for the details.
Diam. Override
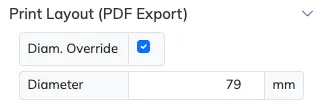
Section titled “Diam. Override”Turning the Diam. Override option on reveals a Diameter field to force an arbitrary output diameter when printing or exporting as PDF or SVG, scaling the design to it.
Bitmap Image Export (PNG/JPG)
Section titled “Bitmap Image Export (PNG/JPG)”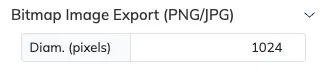
The Bitmap Image Export options allow you to specify the output diameter for raster images, when exporting as JPEG or PNG.
The Diam. (pixels) measure is always in raster image pixels, regardless of the current measurement unit.