Canvas Settings
The Canvas Settings control rendering, defaults, blueprint (image underlay), export/print, color swatches and file options that impact the entire canvas.
Licensing
Section titled “Licensing”Some of the features on this page require a subscription, as described on the Login & Subscriptions page:
Standard
Section titled “Standard”Render Style
Section titled “Render Style”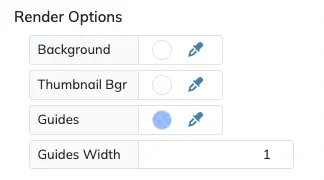
The Background option allows you to set the background color of the entire canvas.
The Thumbnail Bgr option allows you to set the background of the thumbnail images on the layers list.
Canvas Defaults
Section titled “Canvas Defaults”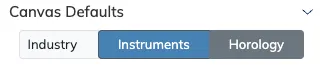
The Canvas Defaults section has an Industry selector with two choices:
Instrumentskeeps the classic defaults for newly created radial layers: 135° start and 270° sweep.Horologypre-shapes new radial layers for clock faces: full circle, 12 divisions, numbers 1–12 with the12at the top. A watch dial takes shape with zero re-configuration!
The choice is saved per file, and the last selection you make explicitly becomes the default for your new files.
Blueprint Image
Section titled “Blueprint Image”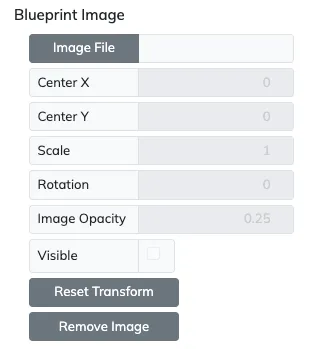
The Blueprint Image will add an image of your choosing to the background of the canvas, just as a reference image that will not be included on any of the gauge output options.
Click on the Image File button to select the image you want to add to the canvas.
Once you can see the image on the canvas, you can move it around by dragging it when there are no layers selected.
You can also adjust the scale, rotation or transparency of the image as needed.
The Visible option allows to show or hide the Blueprint image as required when designing your gauge.
Export/Print Rendering
Section titled “Export/Print Rendering”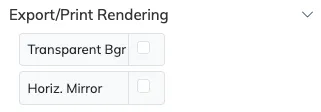
Enable the Transparent Bgr option if you need to have a transparent background when printing or exporting your designs, for example if you will compose the output on other drawing tools.
Enable the Horizontal Mirror effect to export or print gauges that are mirrored horizontally. This effect is useful for example for heat transfer printing, where the gauges need to be printed as their mirror image so they appear correctly when transferred to their final surface.
SVG Export
Section titled “SVG Export”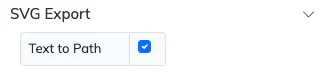
The Text to Path option converts all the text in exported SVGs to pure outline paths, so the file renders identically everywhere. It defaults to on for new files, and off for files saved before GaugeMaster Pro 2.
See the Print and Export Gauges page for the full behavior.
Bitmap Image Export (PNG/JPG)
Section titled “Bitmap Image Export (PNG/JPG)”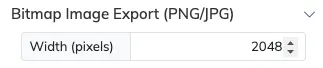
The Width (pixels) measure sets the pixel width used when exporting the whole canvas as a PNG or JPG image. It is always in raster image pixels, regardless of the current measurement unit.
Each gauge keeps its own pixel size for single-gauge image exports, with the Diam. (pixels) measure on its Gauge Settings.
Multi-Copy Print
Section titled “Multi-Copy Print”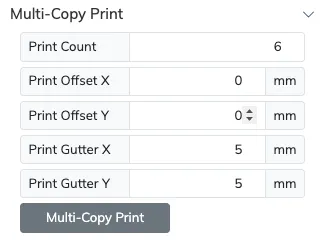
Multi-copy printing has its own dedicated section, with settings to line up the printed copies with flat-bed printer jigs:
| Setting | Description |
|---|---|
| Print Count | Sets the number of copies to print. |
| Print Offset X / Y | Shift the print origin, to line the copies up with the jig. |
| Print Gutter X / Y | Set the separation between copies. |
The Multi-Copy Print button runs the print, fitting as many copies of your gauge on a page as possible, making sure they are not cut by page breaks. All four measures follow the current measurement unit.
If you have added a Serial Number to any Text Detail layer, each gauge printed will have a unique and sequential serial number on it.
File Saving
Section titled “File Saving”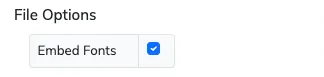
Since GaugeMaster Pro uses your local fonts on text layers, when sharing your designs with commercial relations that also use GaugeMaster Pro, you need to make sure they will have all the same fonts you used on your gauge, otherwise they will not see the design correctly. To avoid missing any fonts you have the option to embed all the fonts used on a design when saving your gauges.
Whenever the Embed Fonts option is enabled your GaugeMaster Pro gauge files will be saved with all the fonts used in your gauge design embedded in the file. So regardless if the recipient has those fonts or not, the gauge will render on their machines with fidelity.
Embedded fonts also travel with the gauges themselves when you import them into another canvas.
Color Matching Tools
Section titled “Color Matching Tools”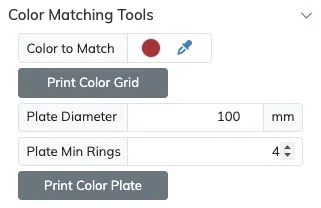
To help you match an exact color on your final gauge material, first pick a Color to Match, then use either of the following options:
- Print Color Grid prints a full page of close variations around the chosen color.
- Print Color Plate prints a color wheel on a round plate of your chosen Plate Diameter and Plate Min Rings.
Both printouts are aids for matching exact colors on the final gauge material, visually or with the help of a colorimeter.
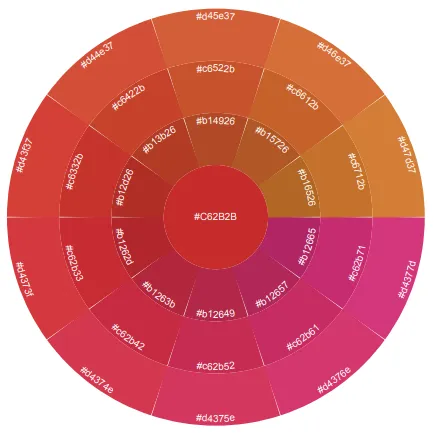 Sample color plate output.
Color Swatches
Section titled “Color Swatches”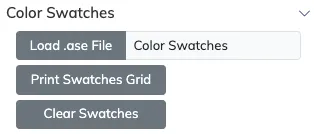
The Color Swatches section adds professional color palettes built around Adobe Swatch Exchange (.ase) format.
Use the Load .ase File button to import an Adobe Swatch Exchange palette. All the palette’s colors become available in the app’s color picker. The palette is saved inside the .gmpro file, so it always travels with your design.
Once a palette is loaded, every color control in the app adds a new color swatches picker button.

Print Swatches Grid
Section titled “Print Swatches Grid”The Print Swatches Grid button prints the loaded palette as a labeled grid of color boxes. This is very useful for checking how the palette colors reproduce on the target printer and material before committing to a final gauge print.
Clear Swatches
Section titled “Clear Swatches”The Clear Swatches button removes the loaded palette from the file. Any colors already applied to layers keep their values.