Canvas
The Canvas is the area where you will edit your gauge designs. It can hold any number of gauges, and it will overlay different editing tools depending on the layer type being edited or specific tool selections.
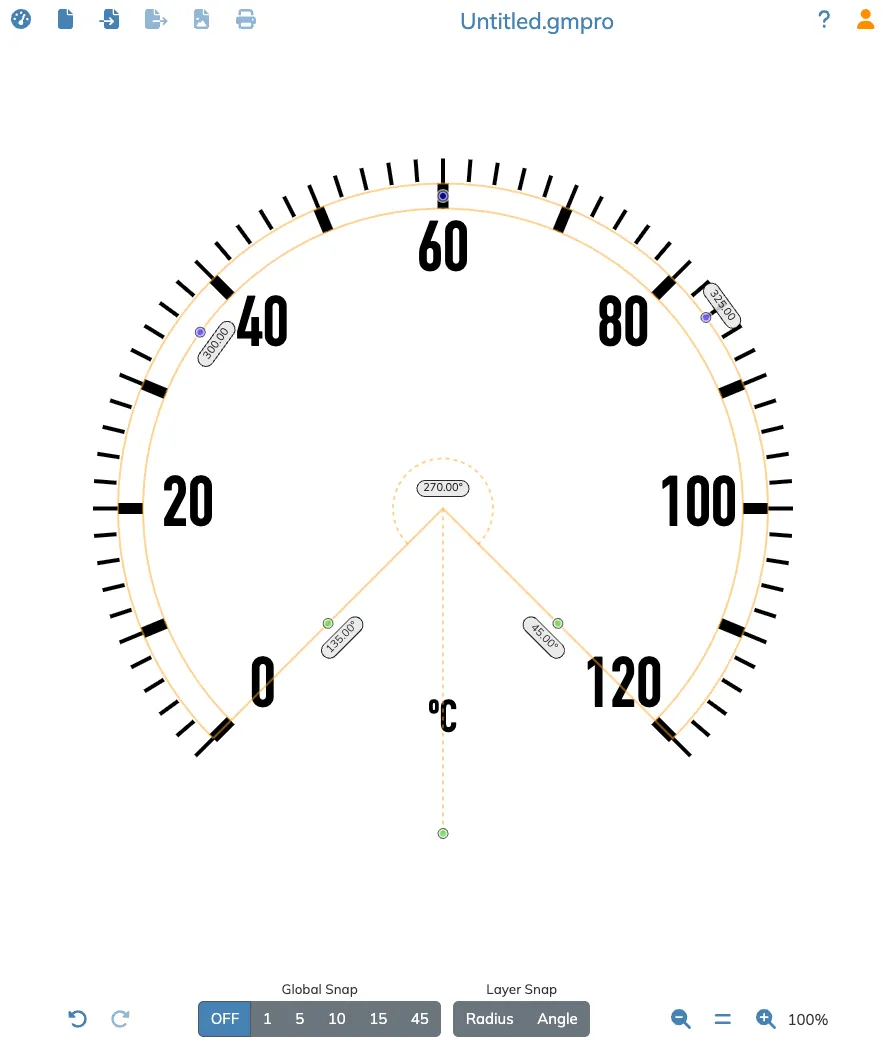
Whatever you see on the canvas is what will be exported or printed, except for any drawing aids or tools.
Licensing
Section titled “Licensing”Some of the features on this page require a subscription, as described on the Login & Subscriptions page:
Standard
Section titled “Standard”File & User Operations
Section titled “File & User Operations”At the top of the Canvas area there is a set of controls that will allow you to manage your gauge files, as well as your login and subscription options.
Sample Gauges
Section titled “Sample Gauges” The Sample Gauges button will show you a list of prebuilt gauges that you can load to explore how they were made on GaugeMaster Pro.
New Canvas
Section titled “New Canvas”
Use this button to clear the entire Canvas, with all its gauges, and start a new design. After pressing this button the current file name will default to Untitled.gmpro.
Load Canvas
Section titled “Load Canvas” Use this button to open any of your gauge files created by GaugeMaster Pro, which should have the file extension
 .gmpro.
If you converted any of your old iPad or Mac GaugeMaster files to GaugeMaster Pro format with those apps’ conversion tools, you should be able to open them as well. If you were to have any issues with your converted files please contact us at support.
Save Canvas
Section titled “Save Canvas” Use this button to save the current design on the canvas in GaugeMaster Pro format. Gauge files saved by GaugeMaster Pro will have the file extension
 .gmpro.
Export Gauge
Section titled “Export Gauge” Use the Export button to export the whole canvas, or just the active gauge, to any of the following formats:
- PNG
- JPEG
- SVG
Check the Print and Export Gauges section for more information on the process and formats.
Print Gauge (Export PDF)
Section titled “Print Gauge (Export PDF)” Use this button to print, or export to PDF, the whole canvas or just the active gauge.
Check the Print and Export Gauges section for more information on the process and options.
File name
Section titled “File name” After the file handling buttons on the Canvas header bar, the app will always display the current gauge’s file name. This is updated when creating a new canvas, opening an existing gauge file, or saving the current canvas with a new name. For new canvases the file name will default to
 Untitled.gmpro.
The filename will be prefixed by a ● if the current file has been modified in any way since loading or saving.
 The Help button will open a popup window with some quick tips on how to create a gauge, a list of keyboard shortcuts, and links to further help and support options.
Color Theme
Section titled “Color Theme”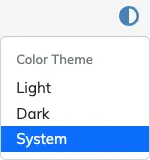
GaugeMaster Pro has a full dark mode. A dropdown on the canvas header lets you choose between the Light, Dark and System themes, with System following your operating system’s appearance.
The theme choice is remembered on your device, as it is a personal preference and not part of the gauge file.
Login & Subscriptions
Section titled “Login & Subscriptions”
The User button will give you access to the Account & Subscription menu from where you will be able to Sign Up or Sign In and manage your subscriptions.
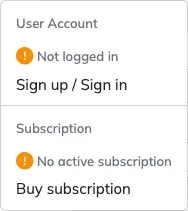
Read all about it on the dedicated Login & Subscriptions page.
Undo/Redo
Section titled “Undo/Redo”
Use the Undo button to undo any unwanted actions and restore the canvas to a previous state. Use the Redo button to restore undone actions that you want to recover. If either button is disabled it is because there are no more actions to undo or redo.
Active Gauge Frame
Section titled “Active Gauge Frame”
The active gauge shows a frame (bounding box) with a header bar on the Canvas. The header shows:
- The gauge name.
- The gauge’s position on the canvas.
- The gauge’s diameter, prefixed with the diameter symbol
Ø. A gauge with a size preset shows its fixed diameter, while aFreegauge shows the current diameter of its content. - A zoom-to-fit button, to frame just that gauge on your screen.
Drag the header bar to move the gauge around the Canvas.
A click on the canvas away from any layer deselects the layer and the gauge, leaving no gauge selected: the gauge frame and all editing aids disappear, rendering a clean canvas with only your designed gauges.
Global Snap
Section titled “Global Snap”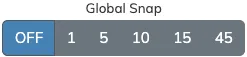
The Global Snap is used to force any edited radius or angle values to multiples of the selected snap value. The snap grids adapt to the current measurement unit. Check The Magic of Snapping for more details on how to work with snapping.
Layer Snap
Section titled “Layer Snap”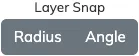
Use Layer Snap to match the radii and angles of the layer being edited against all the other layers on the canvas. Check The Magic of Snapping for more details on how to work with snapping.
Zoom & Pan
Section titled “Zoom & Pan”
The GaugeMaster Pro Canvas starts at 100% zoom and centered on the (0,0) coordinate. With the zoom buttons you can zoom in and out, up to x10, or reset it.
The Zoom to Fit action, with the Option/Alt + = shortcut, zooms and pans the canvas to fit all your gauges on screen. The = key still resets the zoom and centers the canvas. Each gauge frame header also has its own zoom-to-fit button, to frame just that gauge.
You can use the following controls to Pan the Canvas on both macOS and Windows:
- Scroll operation on a Trackpad (usually with two fingers)
- Drag with Middle Mouse Button pressed
You can also use the following controls to Zoom the Canvas on both macOS and Windows:
- Alt + Scroll up and down on trackpad (usually with two fingers)
- Alt + mouse Scroll Wheel